
Knowing how to use a tourniquet is just as important as having one.
So, you have taken the first step in being prepared to stop severe bleeding by getting a tourniquet but do you know how to use one?
A tourniquet is a medical device used to stop bleeding from a wound. It is typically used in situations where bleeding is severe and cannot be stopped by other means. Tourniquets have been used for centuries and are still widely used today in emergency situations. Knowing how to use a tourniquet properly can mean the difference between life and death.
A tourniquet is a medical device used to stop bleeding from a wound. It is typically used in situations where bleeding is severe and cannot be stopped by other means. Tourniquets have been used for centuries and are still widely used today in emergency situations. Knowing how to use a tourniquet properly can mean the difference between life and death.
First things first:
You need to stage your tourniquet and get it ready to use if the situation arises. Don’t just throw it in your medical bag with the plastic still on. The time you spend in an emergency unwrapping and preparing it to use could waste precious seconds.How to stage a CAT Tourniquet:
- Step 1: Pass the red tip through the slit in the buckle. Pull 8” of band through, fold it back and adhere the band to itself.
- Step 2: Flatten the loop formed by the band. Place the buckle in the middle of the flattened band.
- Step 3: Fold the tourniquet in half placing the buckle at one end. The tourniquet is now ready to be placed in your medical kit.
Your tourniquet is staged and ready, here is how to use it.
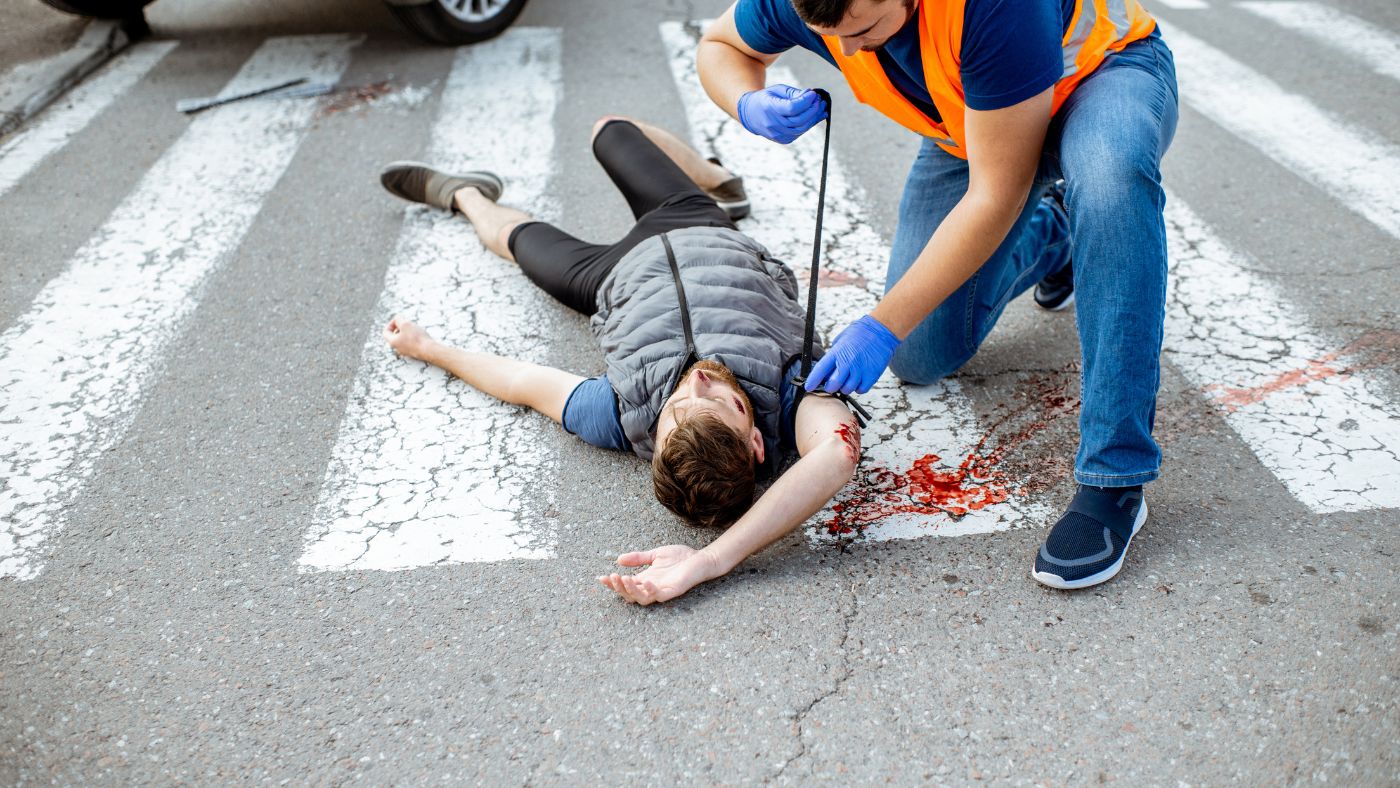
- Step 1: Identify the source of the bleeding. Before applying a tourniquet, it is important to identify the source of the bleeding. The tourniquet should be placed as close to the source of the bleeding as possible, but not directly over the wound.
- Step 2: Apply the tourniquet. The tourniquet should be placed around the affected limb, approximately two inches above the site of the bleeding. It should be tight enough to stop the bleeding but not so tight that it cuts off all blood flow to the limb. The tourniquet should be applied as quickly as possible to minimize blood loss.
- Step 3: Tighten the tourniquet. Once the tourniquet is in place, it should be tightened until the bleeding stops. This may require significant force, so be prepared to apply a significant amount of pressure. The tourniquet should be tightened until the bleeding has stopped completely.
- Step 4: Secure the tourniquet. Once the bleeding has stopped, the tourniquet should be secured in place. This can be done using a commercially available tourniquet strap, or by tying a knot in a piece of fabric or clothing. The tourniquet should be secured tightly to prevent it from slipping or loosening.
- Step 5: Seek medical attention. Once the tourniquet is in place, it is important to seek medical attention as soon as possible. A tourniquet should not be left in place for longer than two hours, as it can cause damage to the limb. In addition, a tourniquet should only be applied by someone with proper training and experience.
A tourniquet is a valuable tool for stopping severe bleeding in emergency situations. It should only be used as a last resort, after other methods of bleeding control have been attempted. When using a tourniquet, it is important to identify the source of the bleeding, apply the tourniquet as quickly as possible, tighten it until the bleeding stops, secure it in place, and seek medical attention as soon as possible. With proper use, a tourniquet can be a life-saving tool in emergency situations.
Leave a comment